Mark Jones' KR-2S Elevator Trim Tab
  Home Page

  Fuselage (the boat) | Instrument Panel Panel | Front Deck | Front Deck Hood | Turtle Deck | Engine Cowling Fabrication

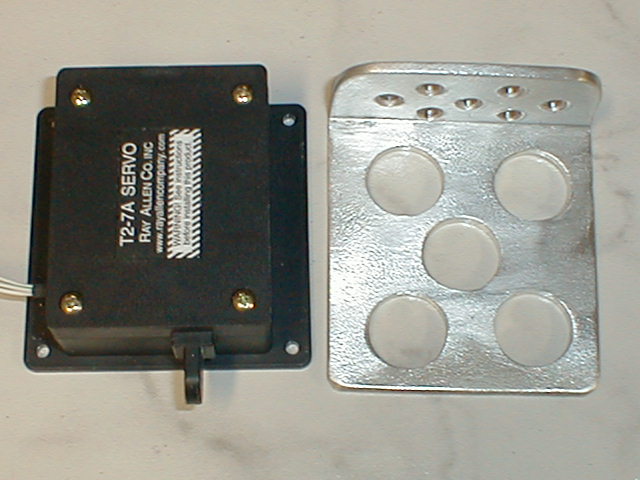
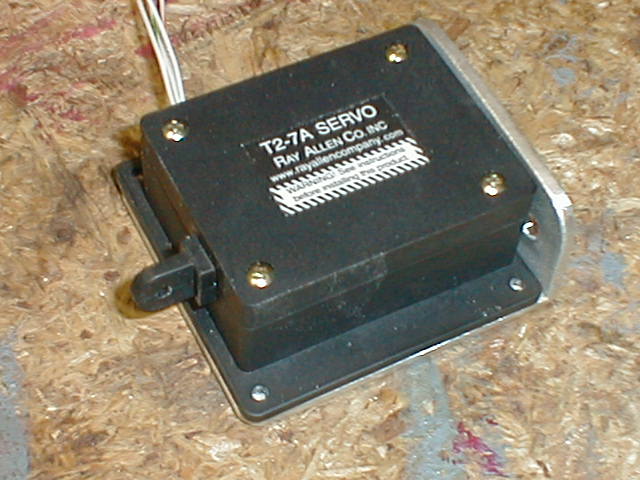
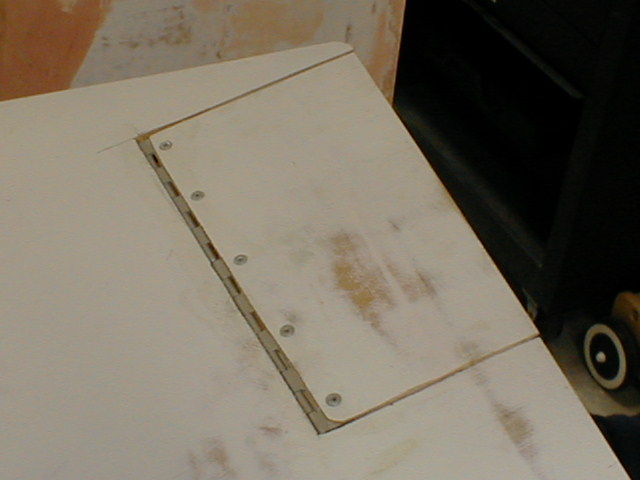
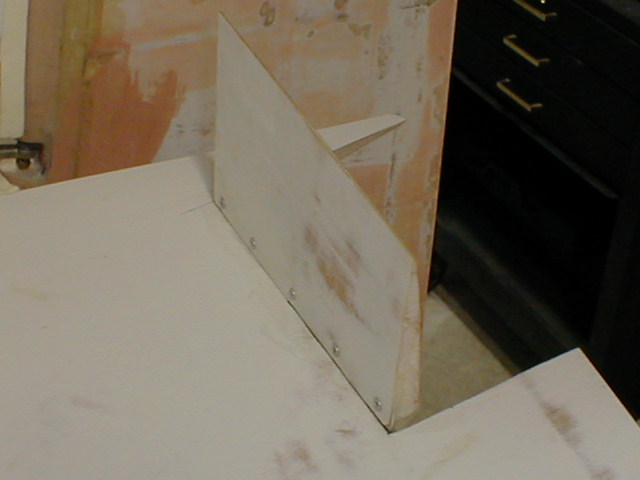
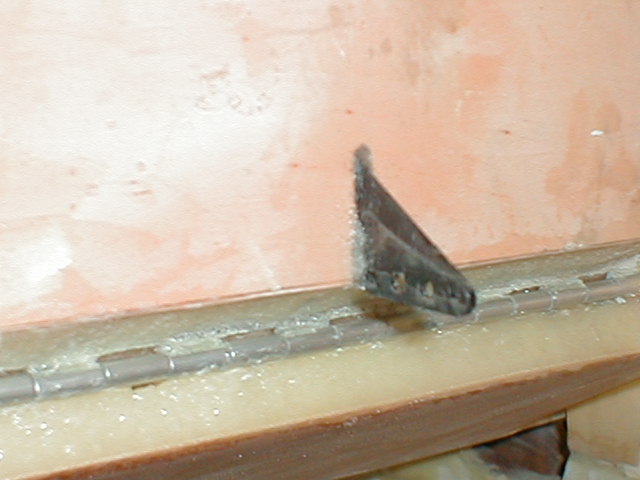
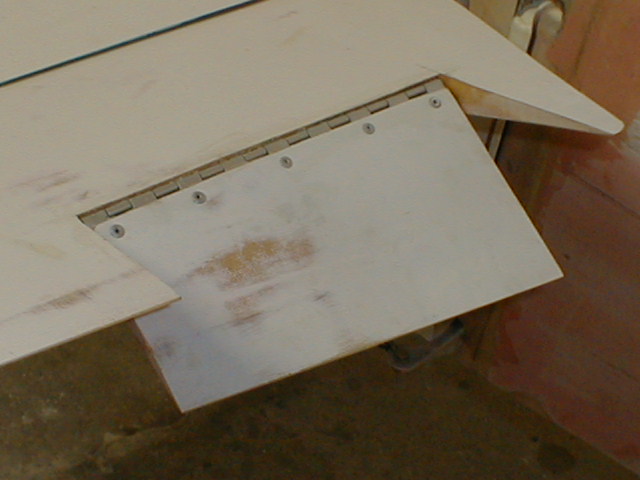
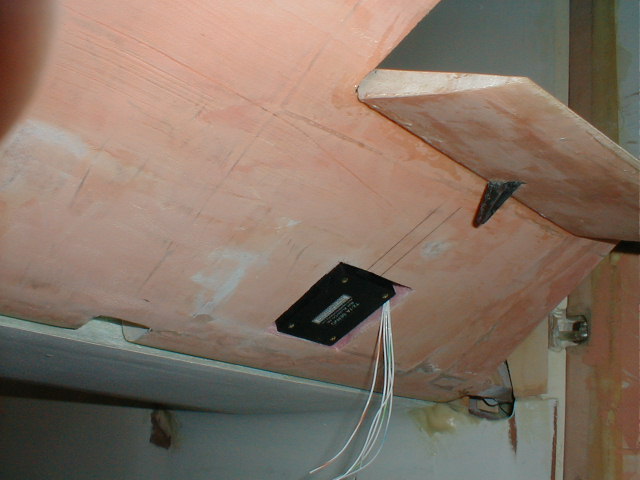
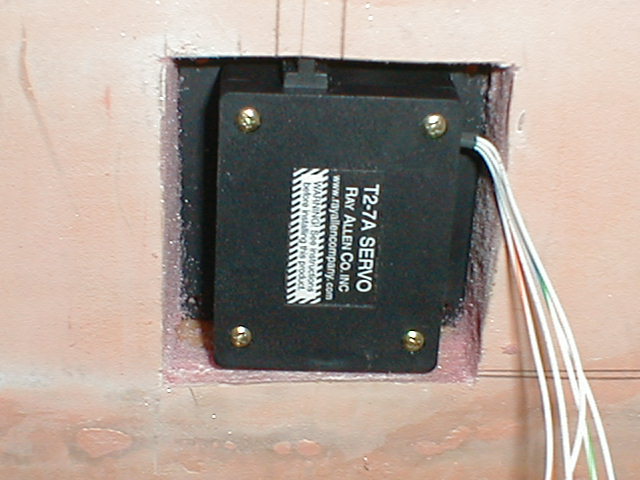
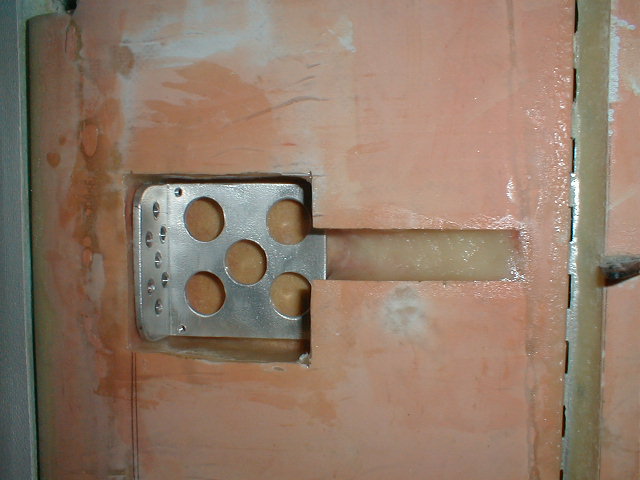
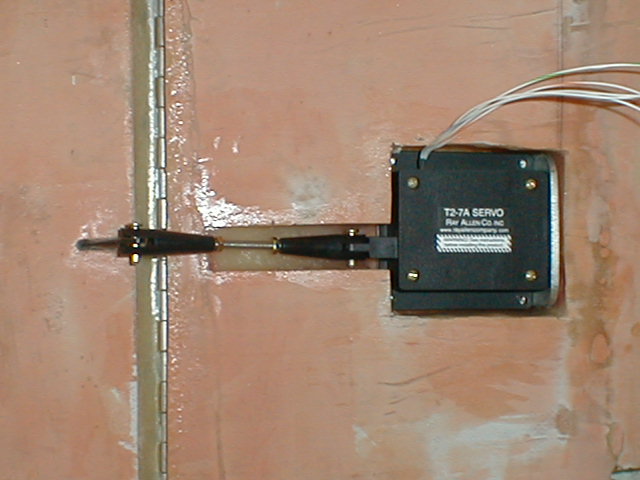
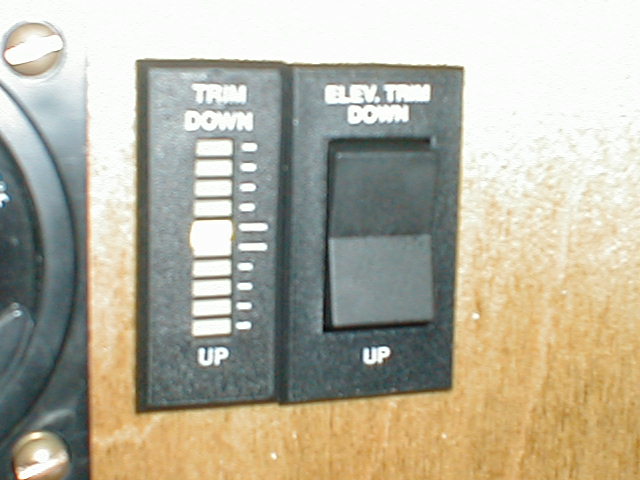
Canopy  | Canopy Gull Wing Door | Completed Gull Wing Door | Canopy Door Support | Flight Controls | Elevator Trim Tab

Corvair Engine (page 1) | Corvair Engine (page 2) | Dual Facet Fuel Pumps | Oil Cooler & Filter | Oil Cooling System

Engine Baffles | Intake & Exhaust | Corvair Engine Starter Mount | Dual Ignition | Corvair Engine Mount | LED Rudder Nav Light

Matco Brakes & Diehl Gear | Secure Distributor & MSD Wires | Belly Board Speed Brake | Spars & Stub Wing (page 1)

Stub Wing (page 2) | Wing, Landing Light, Wing Tip | N886MJ Goes To The Airport | Lost My Spinner | My Car Tags

Sensenich Propeller | CorvAIRCRAFT Engine | Body Work & Paint

A TRIBUTE TO KEN RAND
 
3-15-2004
I am installing a RAC T2-7A Trim System in my elevator. The servo is pictured above along with a mounting bracket I fabricated from 1/8" aluminum angle. The bracket will be floxed to the elevator spar and the servo will be mounted to the bracket with screws in each corner. This will make removal easy if needed.
The above four photos show my elevator trim tab. First, I cut out the tab which is
 4"x 9". Next, I removed the foam from the edges of the tab approximately 3/8" deep. I then made up a mixture of Aeropoxy and flox and applied a thin layer to the piano hinge on the trim tab side. The piano hinge was then pop riveted to the trim tab top forward edge. I then filled the remaining edges of the trim tab with the Aeropoxy flox mixture and allowed to cure. The following day, I removed foam from the elevator cut out edge and prepared it for installing the trim tab. I drilled many 1/8" holes in the piano hinge for the flox to adhere to and then placed the tab in position and filled the elevator edges with the flox mixture. I then clamped straight edges on the top and bottom to keep the tab in position while it cured. Remember to used duct tape to protect the hinge pivot area from the epoxy. Also cover your straight edges with duct tape so the epoxy will not adhere to them.
The bottom right photo shows the trim tab control horn. This horn is the same as used on 1/4 scale remote control aircraft.
In the two photos above you can see where I made a cutout in the bottom of the elevator where the servo will be installed. First, I will take the mounting bracket and flox it to the elevator spar. Next the servo will be mounted to the bracket with four corner screws. An adjustable stainless steel pushrod will be connected from the servo to the control horn. The servo will be completely imbedded in the elevator with a plate covering the servo. The servo is actuated by a rocker switch mounted on the instrument panel. There is also a LED position indicator which will be mounted on the instrument panel next to the rocker switch. I will add photos of those once I have them mounted. Note: I mounted the trim tab on the left elevator side in order to be able to view the operation of the trim tab from the cockpit during preflight.
After I cut out the mounting hole for the servo to fit in, I removed the foam from inside the elevator and recessed it back about 3/8" from the edge of the elevator skin. Next, I mixed up some Aeropoxy and flox and filled the recessed area to form walls in the mounting hole and pushrod channel. After this was done the mounting bracket was floxed in place. Then the servo was mounted to the mounting bracket with 6-32 screws. With this set up, I am getting 1.25" down travel and 1.25" up travel. I put an angle gauge on it and it looks to be approximately 25 degrees each way. With the control horn I have, I can attach the push rod at three different points for various deflections. Right now, I have it in the center hole.
The photo to the left shows the Trim Tab Rocker Switch and the LED Position Indicator. In this photo the LED light is operational and is the bright spot on the indicator. The camera flash makes it hard to see but the LED is very bright green and if desired can be hooked to the panel lights where it will dim to half brightness when the panel lights are turned on.