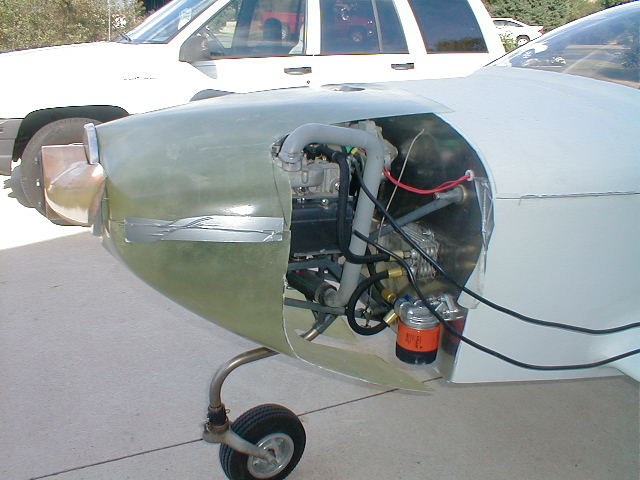
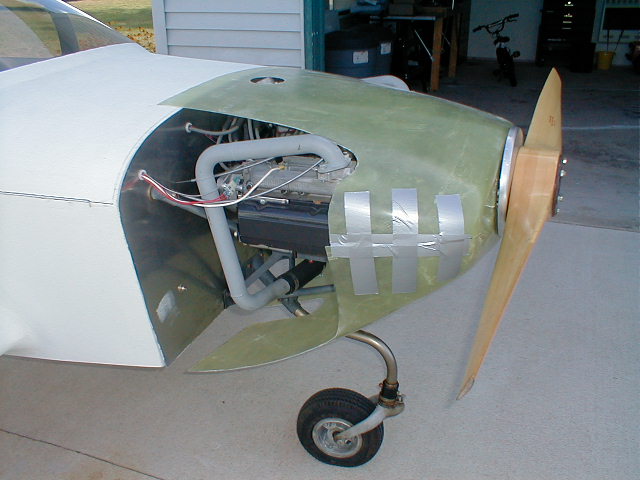
To start making a cowl, I first glassed up a cowl in a friends mold using four layers of 5.8oz cloth and Aeropoxy. After this cured, I pulled the cowl from the mold and cut out the sections which would not fit to my firewall, as you can see in the two photos below.
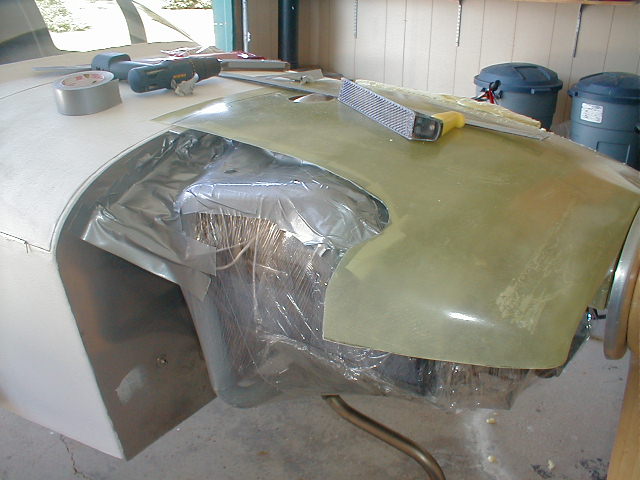
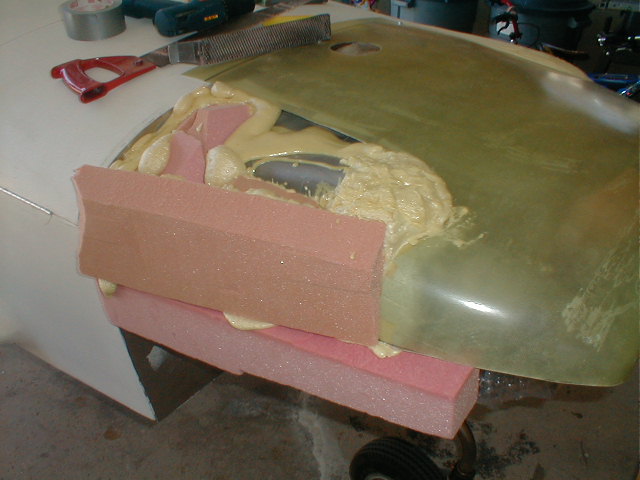
Below, in the next two photos, you can see I wrapped the engine in saran wrap to protect it from epoxy and glue. I next filled the areas where I made the cut outs with urethane foam. The areas between the foam pieces were filled with two-part urethane foam from Wick's.
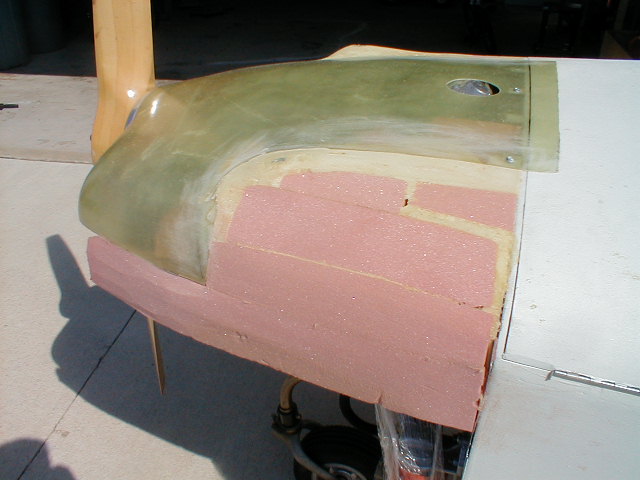
In these two photos below, you can see more detail as to how the foam was added and the two-part foam was used and then sanded to shape.. Under all that foam, I had also built dams with duct tape to compleatly seal the filled area off. You can see where I started the duct tape in the above left photo. The duct tape dam keeps the two-part foam from running all over the place when you pour it in.
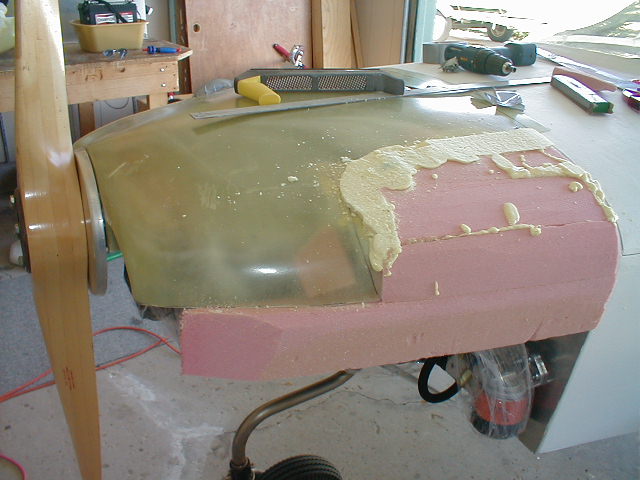
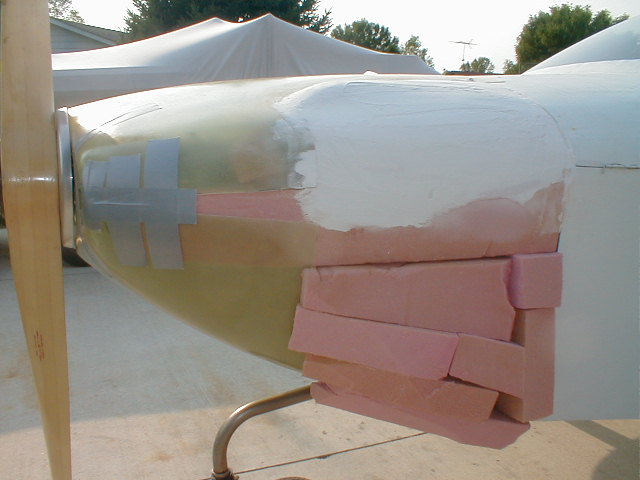
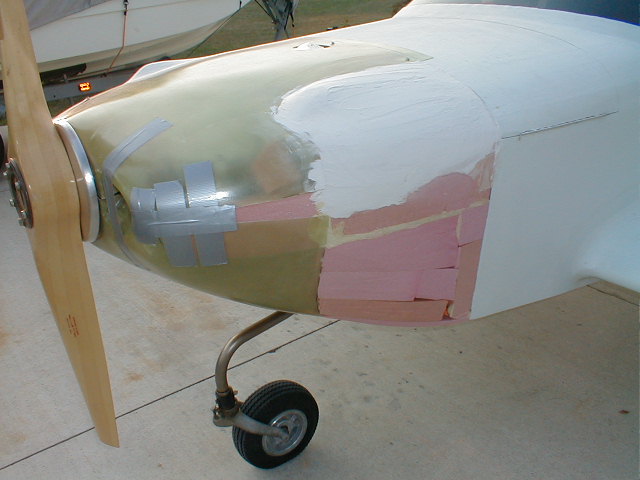
The next two photos show how I added the foam to the cut out in the bottom half of the cowl. I used hot glue to hold the foam pieces together making sure to keep the glue out of the final sanding areas. Two-part urethane foam was also used in the cracks to fill the voids and securely hold the foam. On the top half of the cowl, you can see where I have applied sheetrock joint compound mud (plaster of paris or wall patch will also work) to cover the foam. This compound sands very easy and is also easily removed from the inside of the cowl. Once I have covered all the exposed foam with the compound and sanded it to a final shape, I will apply several layers of mold release wax to the compound. Once this has been buffed out, I will glass on a couple of layers of 5.8oz cloth using Aeropoxy. After this cures, I will remove the cowl and clean up the inside and then apply two to three more layers of glass on the inside of the cowl. The result will be a custom fit cowl for my plane.